Before starting your DIY project, it’s important to know the different types of shoe rack models you can create. Here are some shoe rack models you can choose and customize with IKEA products:
- Wall-mounted shoe rack: This rack is mounted directly on the wall, saving floor space and providing a clean look. It’s ideal for narrow spaces or for creating vertical storage solutions in entryways or corridors.
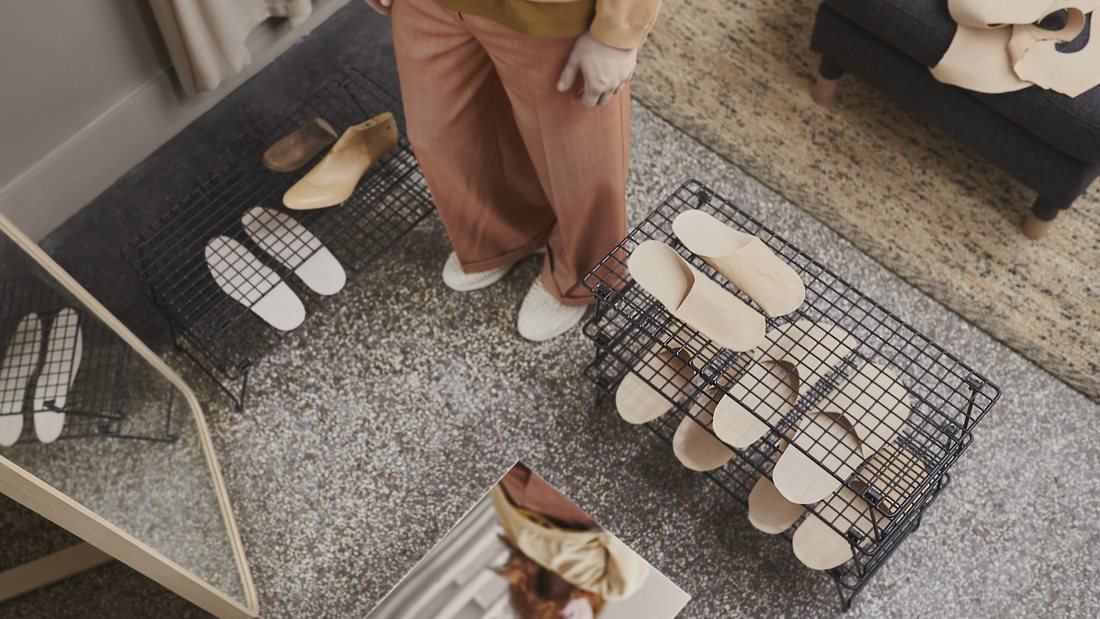
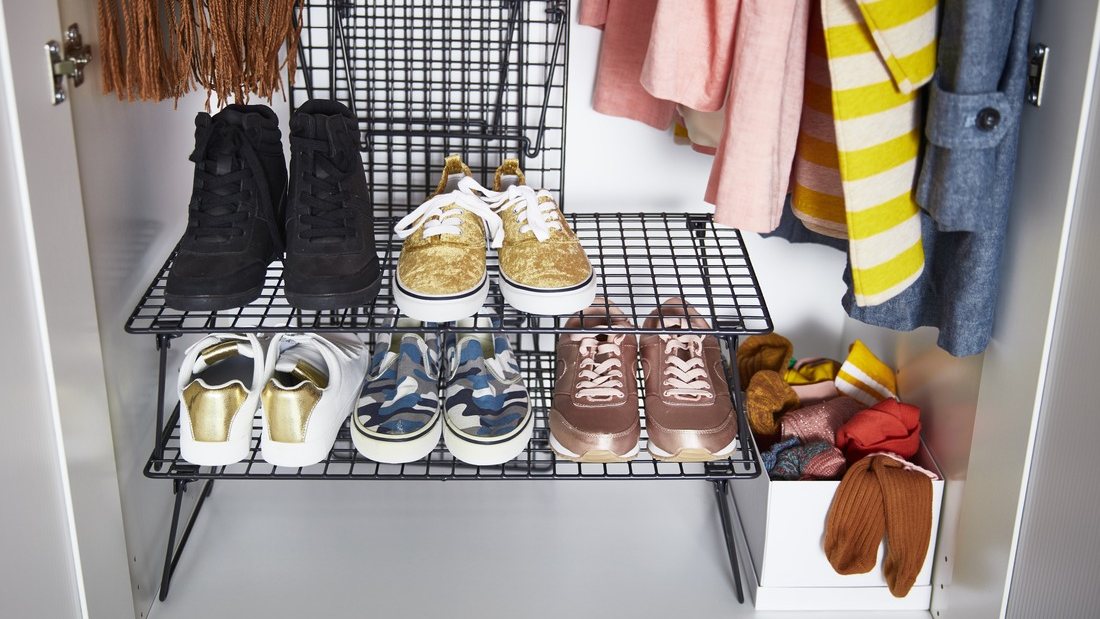
- Tiered shoe rack: A tiered shoe rack has multiple levels or layers that allow you to store shoes in an organized manner. This model is perfect for spaces with sufficient height and allows easy access to shoes on each tier.
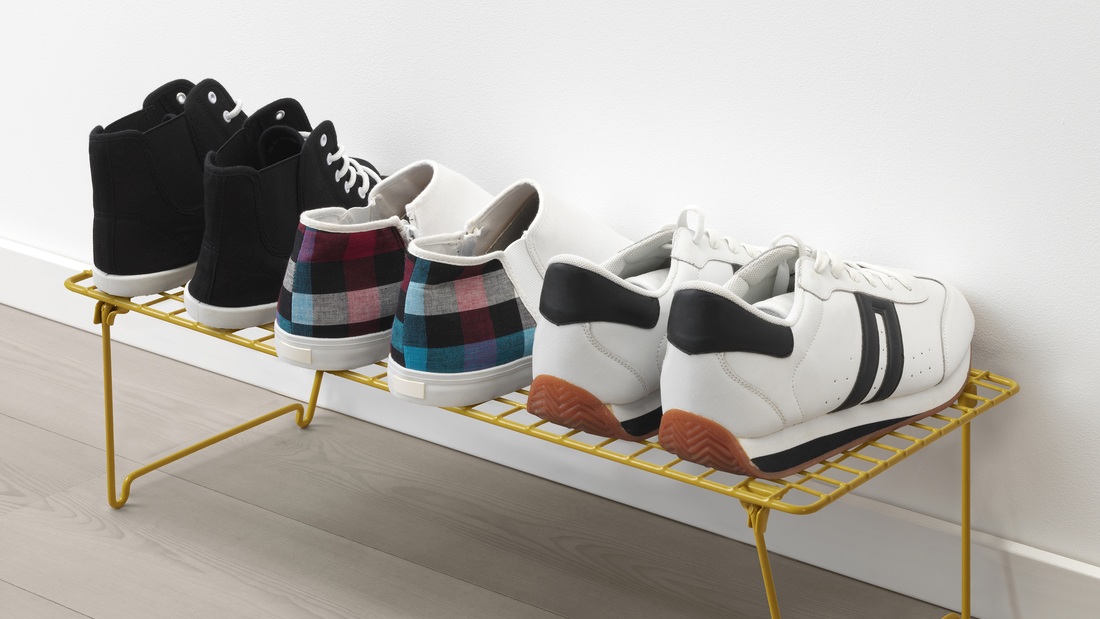
- Open shoe rack: An open shoe rack provides easy and quick access to your shoes. It typically consists of several horizontal or vertical racks and is suitable for larger spaces where you want to display your shoes prominently.
- Compact shoe rack: This model is designed for very limited spaces. Compact shoe racks often have a slim design and can be placed under tables or between furniture to store shoes efficiently.
Preparation of tools and materials
Before you start assembling your shoe rack, make sure you have all the necessary materials and tools. Here is a list of items you need to prepare:
- IKEA Product: Choose a product that matches the design of the shoe rack you want to create.
- Screws and Nuts: Used to securely attach the product to the wall.
- Drill: For making holes in the wall where you will mount the product.
- Driver and Screwdriver: For tightening screws and nuts.
- Marker or Pencil: For marking positions and designs on the wall or product.
Ensuring that all materials and tools are available before starting the project will prevent interruptions and ensure a smooth process.
Read Also: Refresh the Look of Your Living Room
Unbox and prepare the product
Once you have your chosen IKEA product, unbox it and check all the components inside.
Make sure you have all the necessary parts according to the assembly instructions. Generally, IKEA products come with step-by-step instructions, so be sure to read and understand them before starting assembly.
Before assembling, lay out all the parts and check for any damage or missing pieces. If any parts are missing or damaged, contact IKEA customer service for replacement or further assistance.
Mounting the product on the wall
Mounting the product on the wall is a crucial step to ensure that your shoe rack is stable and safe to use. Here are the steps for mounting the product correctly:
- Determine position: Decide where you want to mount the shoe rack. Consider the height and accessibility of the rack. You may want to mount it near the entrance or in another storage area.
- Mark position: Use a marker to mark the hole locations on the wall. Ensure the marks are aligned and at the desired height.
- Drill holes: Use the drill to make holes in the wall according to the marks you made. Ensure the holes are deep and wide enough to accommodate the screws and nuts.
- Install product: Place the IKEA product into the holes you’ve drilled. Use screws and nuts to secure the product to the wall. Ensure all components are firmly and stably attached.
- Check alignment: Once the product is mounted, check if the shoe rack is level and in the correct position. Adjust if necessary.
Design and arrangement
After the shoe rack is mounted, it’s time to add the finishing touches that reflect your personal style and complement your interior design.
This step is crucial to ensure the shoe rack is not only functional but also aesthetically pleasing. Here are some ideas for arranging and designing your shoe rack:
- Choose style and theme: Use a marker to outline designs or patterns on the product according to your room’s theme. You can draw lines, geometric patterns, or even more artistic designs based on your taste.
- Organize shoes neatly: Arrange your shoes on the rack in an organized manner. Separate shoes by category, such as formal shoes, casual shoes, and sports shoes.
- Use accessories: Add accessories like additional racks, shoe organizers, or rack covers to enhance the functionality and appearance of your shoe rack. Some IKEA products come with additional accessories that can help you organize shoes more efficiently.
- Consider lighting: If possible, add lighting around the shoe rack to highlight the design and make it easier to find shoes. You can use LED lights that can be mounted under the rack or wall lights integrated with the rack.
Read Also: 6 Garage Ideas to Maximize Space
Install additional components
After completing the design and arrangement, ensure that all additional components are properly installed. This includes covers, extra racks, or other supplementary parts that may come with your IKEA product. Here are the steps for installing additional components:
- Read instructions: IKEA products typically come with additional components, so read the installation guide to ensure you assemble these parts correctly.
- Install components: Use appropriate tools, such as a screwdriver or driver, to secure additional parts to the shoe rack. Ensure all components are well-attached and there are no loose parts.
- Check functionality: After all components are installed, check if the shoe rack functions as expected. Ensure all parts move smoothly and there are no issues with the installation.
Check and adjust
After the shoe rack is installed and decorated, conduct a final check to ensure everything functions properly. Here are the steps to follow:
- Check stability: Ensure the shoe rack is stable and doesn’t wobble. If the rack feels unstable, check the screws and nuts, and make sure everything is correctly installed.
- Test functionality: Place and remove shoes from the rack to ensure it functions as expected. Verify that the rack holds all your shoes neatly and is easy to access.
- Make adjustments: If there are issues with the design or arrangement of the shoe rack, make the necessary adjustments. You might need to move the rack, add extra accessories, or change the design to better suit your needs.
- Consolidate and finish: After all adjustments are made, clean up the work area and consolidate all tools and materials used. Ensure the area around the shoe rack is clean and tidy to showcase the result of your DIY project.
Create the perfect shoe rack with IKEA products