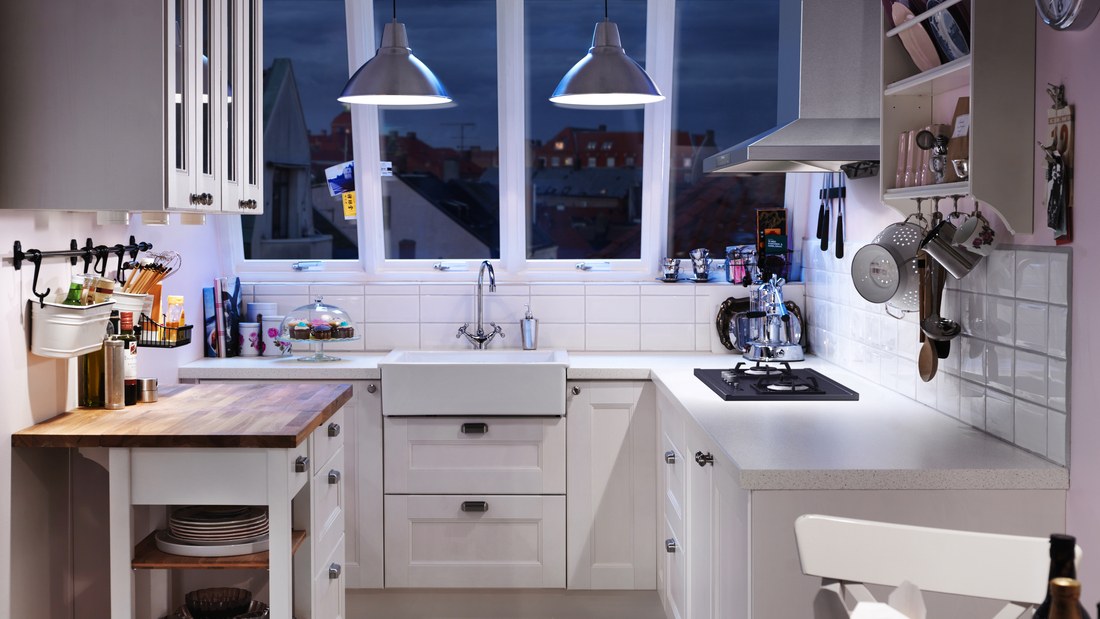
So far, proper lighting plays a role in creating a comfortable and functional atmosphere in the house.
One effective way to achieve this is by using
pendant lamps, which not only provide optimal lighting but also add an aesthetic touch to the room.
Pendant lights can be an elegant focal point and enhance the character of a space, from the living room to the dining room. However, many people feel hesitant or worried about the process of installing pendant lights.
Although it may seem complicated, with the right guidance, installing a chandelier can be a simple and enjoyable task.
Through this article, we will guide you through the essential steps in installing a pendant light safely and effectively.
In addition, we will also recommend a variety of hanging lamp options from IKEA that can beautify and illuminate your home with the right style. Let's take a look.
Also Read: Refresh your living room
Why choose a pendant light?
Many people choose hanging lamps for several reasons, namely:
Design and atmosphere
Pendant lights not only function as a light source, but also as a design element that can change the atmosphere and style of a room.
With designs ranging from classic to modern, chandeliers can be an impressive centerpiece.
For example, a vintage-style chandelier with decorative details can add an elegant and classic feel, while a chandelier with a geometric design provides a contemporary touch.
Space efficiency
In smaller spaces, pendant lights offer the practical advantage of saving space.
By hanging from the ceiling, pendant lights do not take up space like standing or table lamps, thus freeing up more space for other activities or storage.
Some pendant lights are even designed to be height adjustable, allowing you to adjust the light intensity to suit your specific needs. This makes pendant lights a smart solution that not only beautifies a room but also increases the functionality of a limited space.
Tools and materials needed
Before you start installing the chandelier, make sure you have all the necessary tools and materials to ensure the process goes smoothly. Here is a list of commonly needed equipment:
- Screwdriver, to install or remove screws.
- Pliers, for holding and twisting cables.
- Drill and drill bits, to make holes in the ceiling if necessary.
- Ceiling screws and clamps, to secure the chandelier in place.
- Cable insulation, to protect electrical connections.
- Height gauge, to ensure the light is hung at the desired height.
- Power Cable, to connect the light to a power source if necessary.
- Wiring kit, if your chandelier requires special wiring.
Step by step guide: how to install a chandelier
Installing a pendant light can add a touch of elegance to your space, but it requires special attention to ensure everything is securely and neatly installed. Follow this step-by-step guide to properly and safely install a pendant light.
Step 1: Preparation
Before starting installation, make sure the electricity is turned off in the area where you are working.
This is done to avoid the risk of electric shock. Then, gather all the necessary tools and materials, including a screwdriver, drill, hanging bracket, electrical cable, and of course, the chandelier itself.
Step 2: Mark the mounting points
To ensure the chandelier is installed properly, first measure and mark the point on the ceiling where the light will be hung.
Use a ruler and pencil to mark the exact position, so the lamp will hang at the desired height and be symmetrical with the room.
Step 3: Install the hanging brackets
With the mounting points marked, the next step is to install the hanging brackets.
Drill holes according to the marks you have made, then install the bracket using the appropriate screws. Make sure the bracket is installed firmly and evenly so that the chandelier can hang stably.
Step 4: Wiring
Once the bracket is installed, the next step is to connect the electrical wiring. Follow the manufacturer's instructions to connect the wires from the chandelier to the electrical wiring in the ceiling.
Make sure all connections are made securely and the cables are well insulated to prevent short circuits.
Step 5: Securing the lights
Now, it is time to mount the pendant light to the bracket that has been installed. Make sure the light is hanging properly and stably on the bracket.
Check all hooks and components to make sure nothing is loose or not properly installed.
Step 6: Final adjustments and testing
Finally, adjust the height of the light if necessary and make sure the light is in the desired position.
After that, turn the power back on and check if the light is working properly. If the light is not working, turn the power back off and check the cable connections.
By following this guide, you can ensure that your pendant light is securely installed and provides lighting that adds beauty to your space. Good luck!
Safety tips


