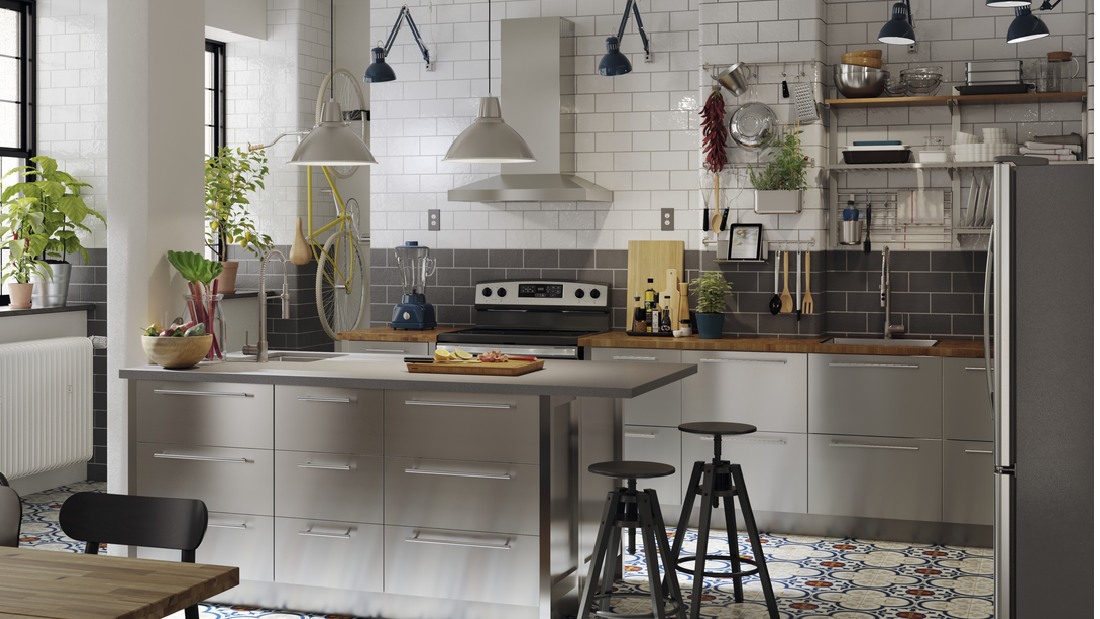
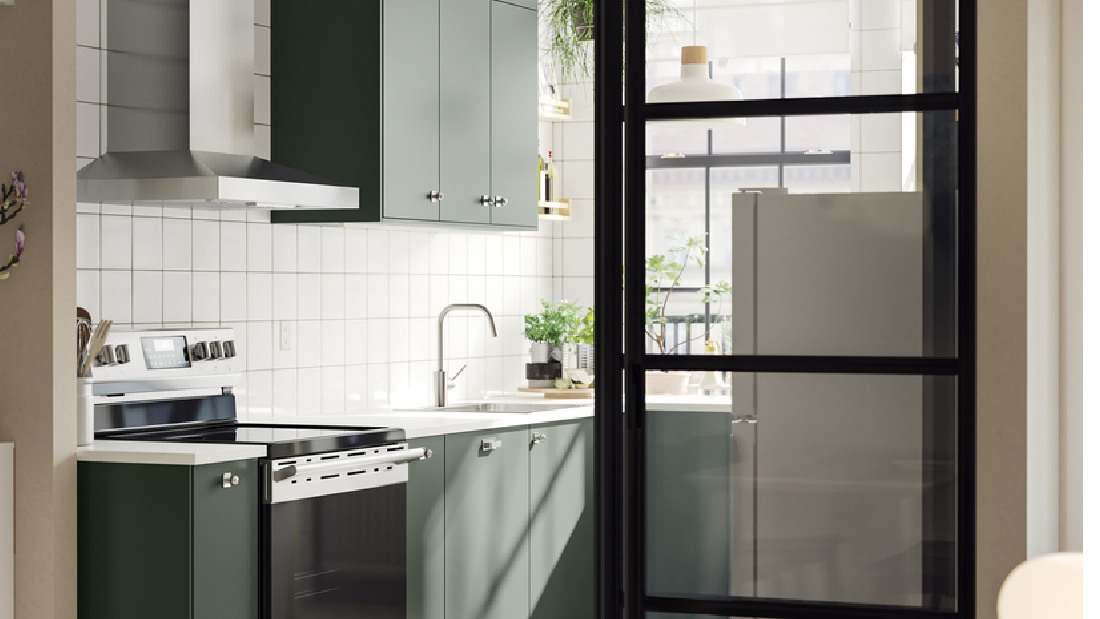
When you want to install a cooker hood, you will go through several stages, starting from installing the bracket on the wall, the sewer pipe, and connecting the cooker hood to the electricity in the house. However, remember to do the installation carefully and cautiously.
Step 1: determine the position and height
The first step is to determine the position and height of the cooker hood. One of them is paying attention to the distance between this tool and the stove. Generally, the installation of a cooker hood is recommended to have a distance of about 60 to 90 cm from the stove. For more precise results, take careful measurements from the surface of the stove to the installation area.
You also need to make sure that there are no objects located around the cooker hood because they can obstruct and reduce the performance it provides. By correctly determining its position and height, it is ensured that the cooker hood can function effectively during the cooking process.
Step 2: bracket installation
The next step is to install the support bracket. Make use of the bracket installation instructions provided to ensure the cooker hood will be installed firmly and securely. As a first step, make sure to accurately determine the mounting points to match the predetermined size and position of the appliance.
Then, use a screwdriver and screws to mount the bracket on the wall of the kitchen space. Make sure the installation is tight and stable enough before proceeding to the next step.
Step 3: connecting the air duct
Next is to connect the air duct with the cooker hood properly for optimal performance. First, prepare an air duct pipe of the appropriate size and then cut it to the required length. Make sure the pipe is not too long compared to the diameter of the outlet.
Then, connect this duct to the cooker hood with a flange or adapter. Once the connection is tight, make a drain hole and connect it to the air duct. Don't forget to ensure that there are no air leaks in any of these connections.
Step 4: connecting the power
The last step is to connect the cooker hood to the electrical power source to ensure its safety and minimize the occurrence of fire. The first thing to do is to turn off the main electricity first, then open the access panel inside the
cooker hood.
Once you've found the power cord terminals, connect the wires in the manner outlined in the manual provided. When each connection is securely attached, immediately close the access panel and turn on the electricity. Once successful, the cooker hood can be turned on properly.
Tips and tricks for using a cooker hood
To maintain the durability of the cooker hood used, there are some tips and tricks for its use that need to be considered in terms of keeping and maintaining it regularly. Doing routine maintenance will help maintain the cleanliness, efficiency, and reliability of the device.
Some tips that need to be done are to clean the filter regularly, do an air duct inspection, and make sure all components of this air suction device are properly functioning.
Once you apply the proper maintenance, the cooker hood will certainly provide its optimal performance in providing fresh air to make cooking activities in the kitchen more comfortable.
Read also: Live more sustainably at home
Common mistakes when installing a cooker hood and how to avoid them
If you don't follow the process of installing a cooker hood correctly, you may find various common mistakes that will affect the performance and safety of this device. Some of the most common mistakes include the following:
Installation too high or too low
The cooker hood should be installed at the correct height above the stove. If the placement is too high, it will not release suction power optimally. On the other hand, an installation that is too low makes the cooker hood potentially cause a fire because it has interfered with the cooking process.
Improper air duct
Make sure to use an air duct of the appropriate size, not too long and twisty. Using an improper duct will restrict the airflow and performance provided by the cooker hood.
Connection that is not tight
Next is the connection which is not tight enough. The connection of this appliance with the air duct or electrical cable must be securely attached and tight. Loose connections will cause air leaks and electrical problems.
Not paying attention to the type of cooker hood
The last step is to choose a cooker hood by considering its suitability for your stove type and cooking needs. Make sure this tool provides optimal and effective performance to suck smoke and odors from the kitchen.
Cooking in the kitchen becomes safer with a cooker hood from IKEA


