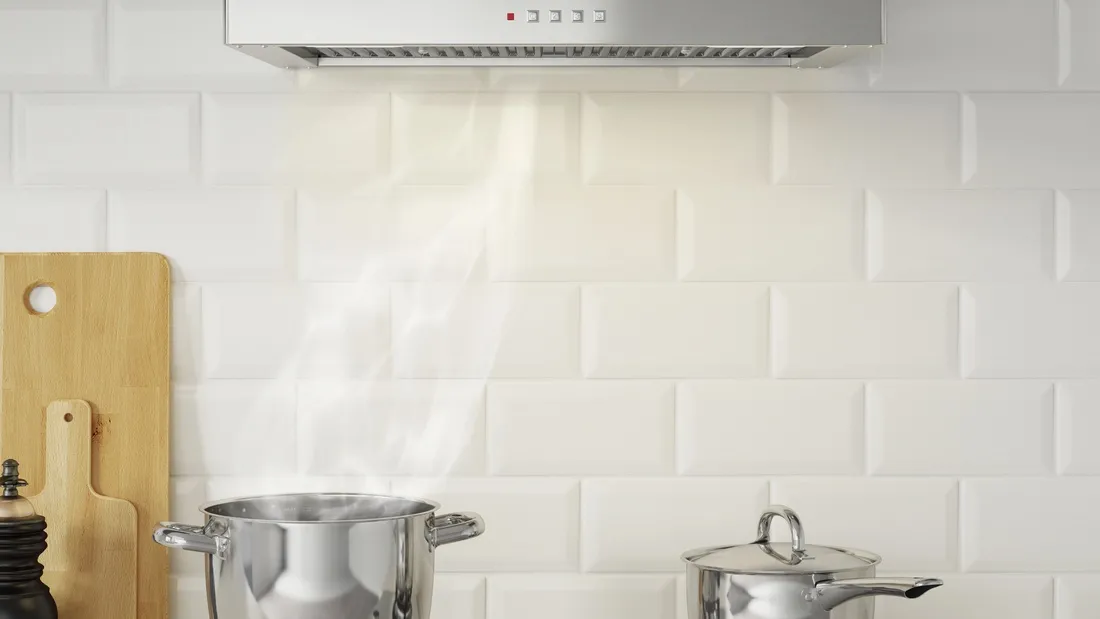
If you love cooking in the kitchen, then the use of a cooker hood is important to help maintain cleanliness and air quality in the kitchen by removing the smoke, odors, and moisture produced during cooking.
With proper installation of the cooker hood, it can effectively reduce the risk of grease buildup in the kitchen, prevent strong odors, and help improve the air quality at home.
Through this article, let's look at a step-by-step guide to installing a kitchen fume hood to ensure that you can do so safely and efficiently.
Also Read: A traditional black kitchen in a small space
Tools and materials required
As part of the effort to get healthier air circulation, you can install a kitchen fume suction device by starting from preparing the tools and materials as below:
Tools required
The tools needed to install a fume extractor in the kitchen include:
- Screwdriver, used to install and tighten screws when you are securing the smoker to a wall or kitchen cabinet.
- Drill, required to make holes in the wall or ceiling, where screws or bolts will be installed to lock the smoker in position.
- Meter, useful for measuring distances and ensuring the smoker is installed in the right position and aligned with the stove or cooking area.
- Pencil or marker, to mark the location of the drill holes on the wall or ceiling.
- Ladder, if the smoker is to be installed in a high location, a ladder will be required to reach the installation area safely.
- Hammer, required to insert nails if used in conjunction with screws for additional anchoring.
- Hacksaw or hole saw, used for cutting ducting or making holes in walls or cabinets if required.
Necessary materials
Once the tools are prepared, then to complement them you can prepare the ingredients that will be used, including:
- Kitchen smoke extractor, is the main unit to be installed, serves to draw and remove smoke and odors from the kitchen.
- Ducting or ducting, which is used to channel air and smoke from the smoke extractor to the outside of the room. Choose the size and type of ducting that matches the model of the smoke extractor you have.
- Ducting clips, used to secure the ducting to the smoke extractor and to the air outlet outside the house, so that there is no air leakage.
- Couplers and bolts, to secure the fume hood to the wall, ceiling, or kitchen cabinets, according to the installation instructions.
- Plastic cover or sealant, to seal the gap between the ducting and the outlet to prevent air leakage.
Installation steps of kitchen fume hood
Once the tools and materials are complete, then you can proceed to the next stage, which is installation. The steps are as follows:
1. Preparing the installation site
Start by measuring the space above the stove or cooking area, but make sure there is enough space between the suction and the stove to ensure the device can function optimally. A safe distance between the suction and the stove is about 60 to 90 cm.
Next, check the electricity in the house. Make sure the power is sufficient and suitable for the needs of the smoke extractor. If there is no electrical connection, you will need to plug it in first or use a safe extension cord.
2. Installing the bracket and placement of the smoke extractor
The next step is to use a drill to make holes in the wall or ceiling according to the marks you have made earlier.
Attach the bracket using screws and make sure the bracket is firmly attached to hold the weight of the smoke extractor.
Once the bracket is in place, carefully lift the fume hood and position it on the bracket. Make sure the smoke extractor is firmly and levelly attached.
3. Ducting connection
Attach the ducting to the ventilation holes on the top of the smoke extractor. Use ducting clips to secure the ducting in position. Ensure that the ducting is securely in place with no air leaks.
If using external ducting, route the duct to the outdoors through a hole in the wall or ceiling. Make sure the end of the ducting is securely attached to the exit hole.
4. Electrical system installation
The fourth step is to connect the power cord from the smoke extractor to the power source.
Ensure all electrical connections are made safely and to safety standards. Use cable insulation where necessary to avoid short circuits.
5. Trial and completion
Once everything is in place, you can turn it on to make sure it is working properly. Check that the smoke and air are being sucked out smoothly through the ducting.
If there are problems with airflow or abnormal sounds, make adjustments to the position of the fume hood or ducting connections.
After a successful test run, clean the installation area and ensure that no tools or materials are left in the kitchen. Your kitchen fume extractor is now ready for use.
Also Read: A quirky and personalized kitchen in a modern studio for work and play
Installation tips and tricks