Transforming recycled bottles into a functional and stylish shoe rack is not only a creative storage solution but also an eco-friendly step that helps reduce waste. By repurposing these unused bottles, you can give them new life while supporting a sustainable lifestyle.
To enhance the strength and appearance of your DIY shoe rack, you can incorporate well-designed and flexible IKEA products. IKEA products offer not only aesthetic design but also functionality that allows you to organize your shoes more efficiently and stylishly.
In this guide, we will show you a smart way to combine recycled bottles with various IKEA products to create a unique storage solution that beautifies your space in an environmentally friendly manner.
Read also: Gift Wrapping Inspiration
Gather materials and tools
Before starting, make sure you have gathered all the materials and tools needed for this project:
- Recycled Bottles: Collect bottles of various sizes and shapes. These bottles will serve as the base elements for your shoe rack.
- IKEA Products: Choose IKEA products such as storage units or accessories that can be combined with the bottles. Consider products like wall-mounted shelves, wall brackets, or modular components.
- Tools: Prepare a drill, screws, and a screwdriver for assembly.
- Adhesives: You may need strong adhesive or mounting tape to secure the bottles.
Design your shoe rack
Determine the design and layout of your shoe rack. Consider how the bottles will be arranged and how they will integrate with the IKEA components you choose. Some design ideas include:
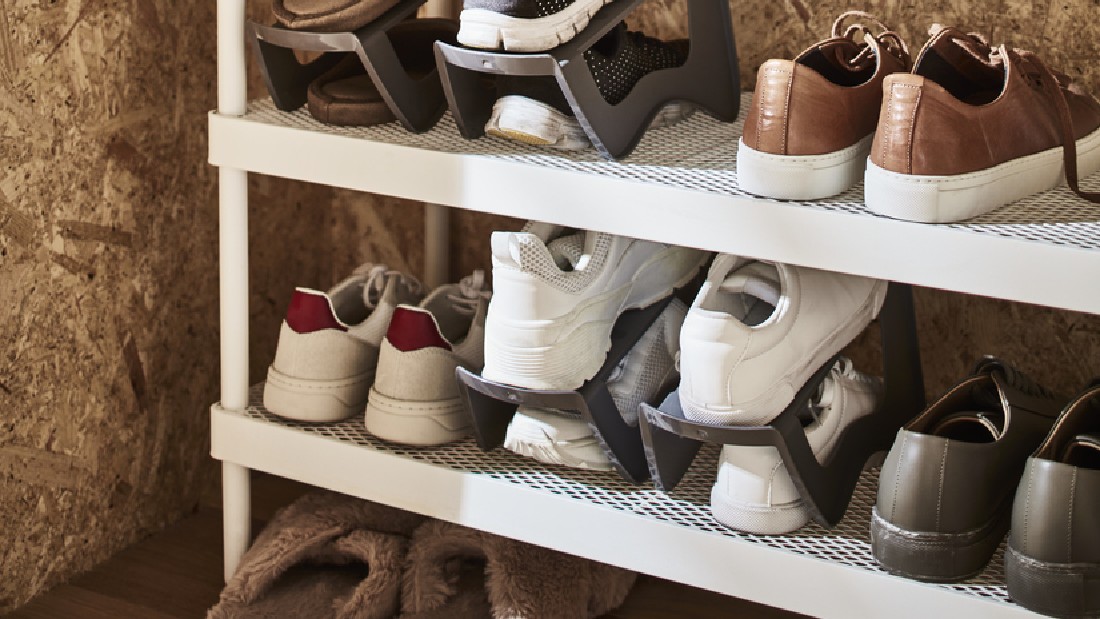
- Vertical arrangement: Arrange bottles vertically using wall-mounted brackets or modular units to create a tall and slim shoe rack.
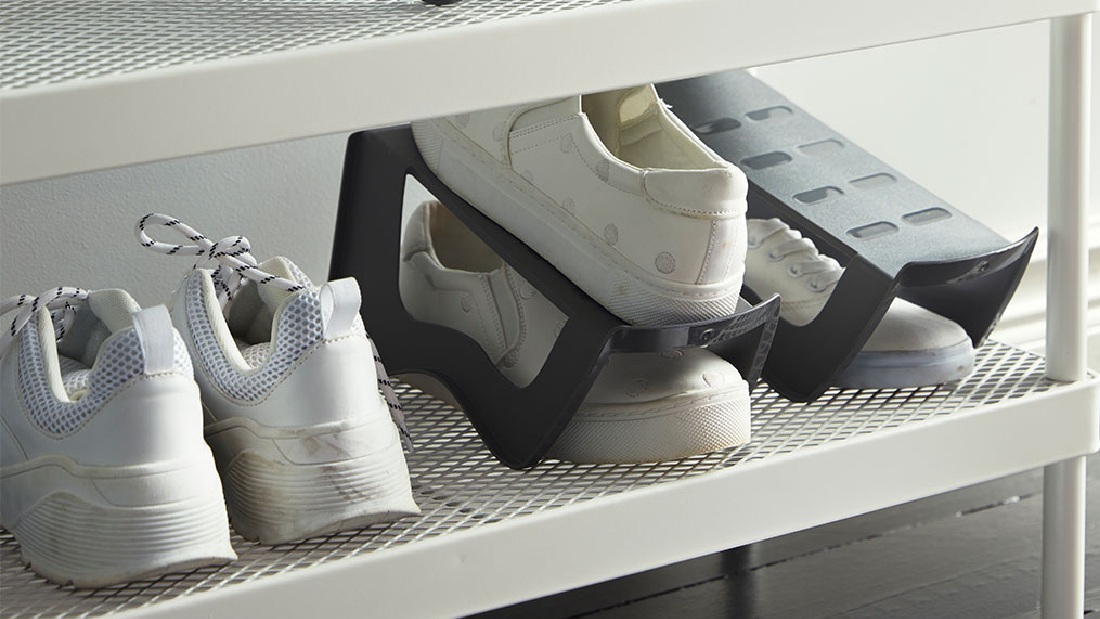
- Horizontal layout: Place bottles horizontally on IKEA shelves to create a low-profile rack that can hold several pairs of shoes.
- Mixed design: Combine vertical and horizontal arrangements for a dynamic and visually appealing design.
Prepare the bottles
The first step in your DIY shoe rack project using recycled bottles is to ensure that the bottles are clean and ready for use. Here are the detailed steps to prepare your bottles:
- Remove labels: Start by removing any labels or stickers from the recycled bottles. Labels often use strong adhesive, so you may need to soak the bottles in warm water for a few minutes to loosen the glue.
- Clean the bottles: Wash the bottles with soap and warm water. Use a small brush or sponge to thoroughly clean the inside and outside of the bottles. Ensure no residue or dirt remains inside the bottles. Rinse the bottles with clean water and make sure they are completely dry before proceeding to the next step.
- Modify the bottles to fit the design: Based on the design of your shoe rack, you may need to cut or modify the bottles. Use sharp scissors or a utility knife to cut the bottles to the desired size and shape.
- Check bottle quality: After modification, check the bottles to ensure there are no sharp or uneven edges that could be hazardous. If there are, use fine sandpaper to smooth the cut edges to ensure they are safe to use.
Assemble IKEA components
Once you have prepared the recycled bottles, the next step is to assemble the IKEA components you will use. Depending on your shoe rack design, there are two types of racks you can use: wall-mounted and floor-standing. Here is a guide for each:
- Wall-mounted rack: Assemble the wall-mounted rack according to the provided instructions. Ensure that all parts of the rack are properly installed and check the strength of the installation. After the wall-mounted rack is in place, check its alignment and ensure it is positioned as desired.
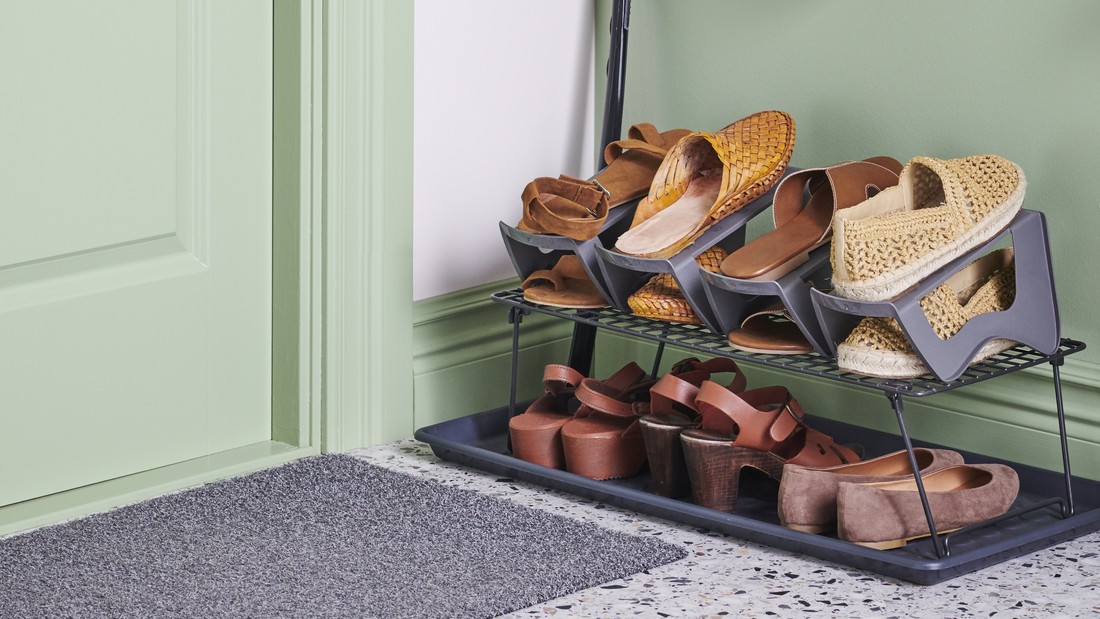
- Floor-standing rack: This type of rack is typically more flexible in terms of placement and can be arranged according to the space requirements. Make sure the floor-standing rack is assembled securely, and all parts are correctly attached. If the rack has legs or supports, ensure they are firmly and evenly placed on the floor.
Start installing recycled bottles
Once the IKEA components are ready, it's time to install the bottles:
- Vertical arrangement: Secure the bottles to the wall brackets using adhesive or mounting tape. Ensure the bottles are evenly spaced and aligned.
- Horizontal layout: Place the bottles on the IKEA shelf unit, arranging them to maximize storage and maintain stability.
- Mixed arrangement: Install some bottles on the wall brackets and place others on the shelf, ensuring the configuration is stable and balanced.
Read also: Do These 5 Things to Keep Your Shoes Fungus-Free
Secure and test